DIY Mini Community
Appropriate for grades:
Subject areas: Visual and Performing Arts
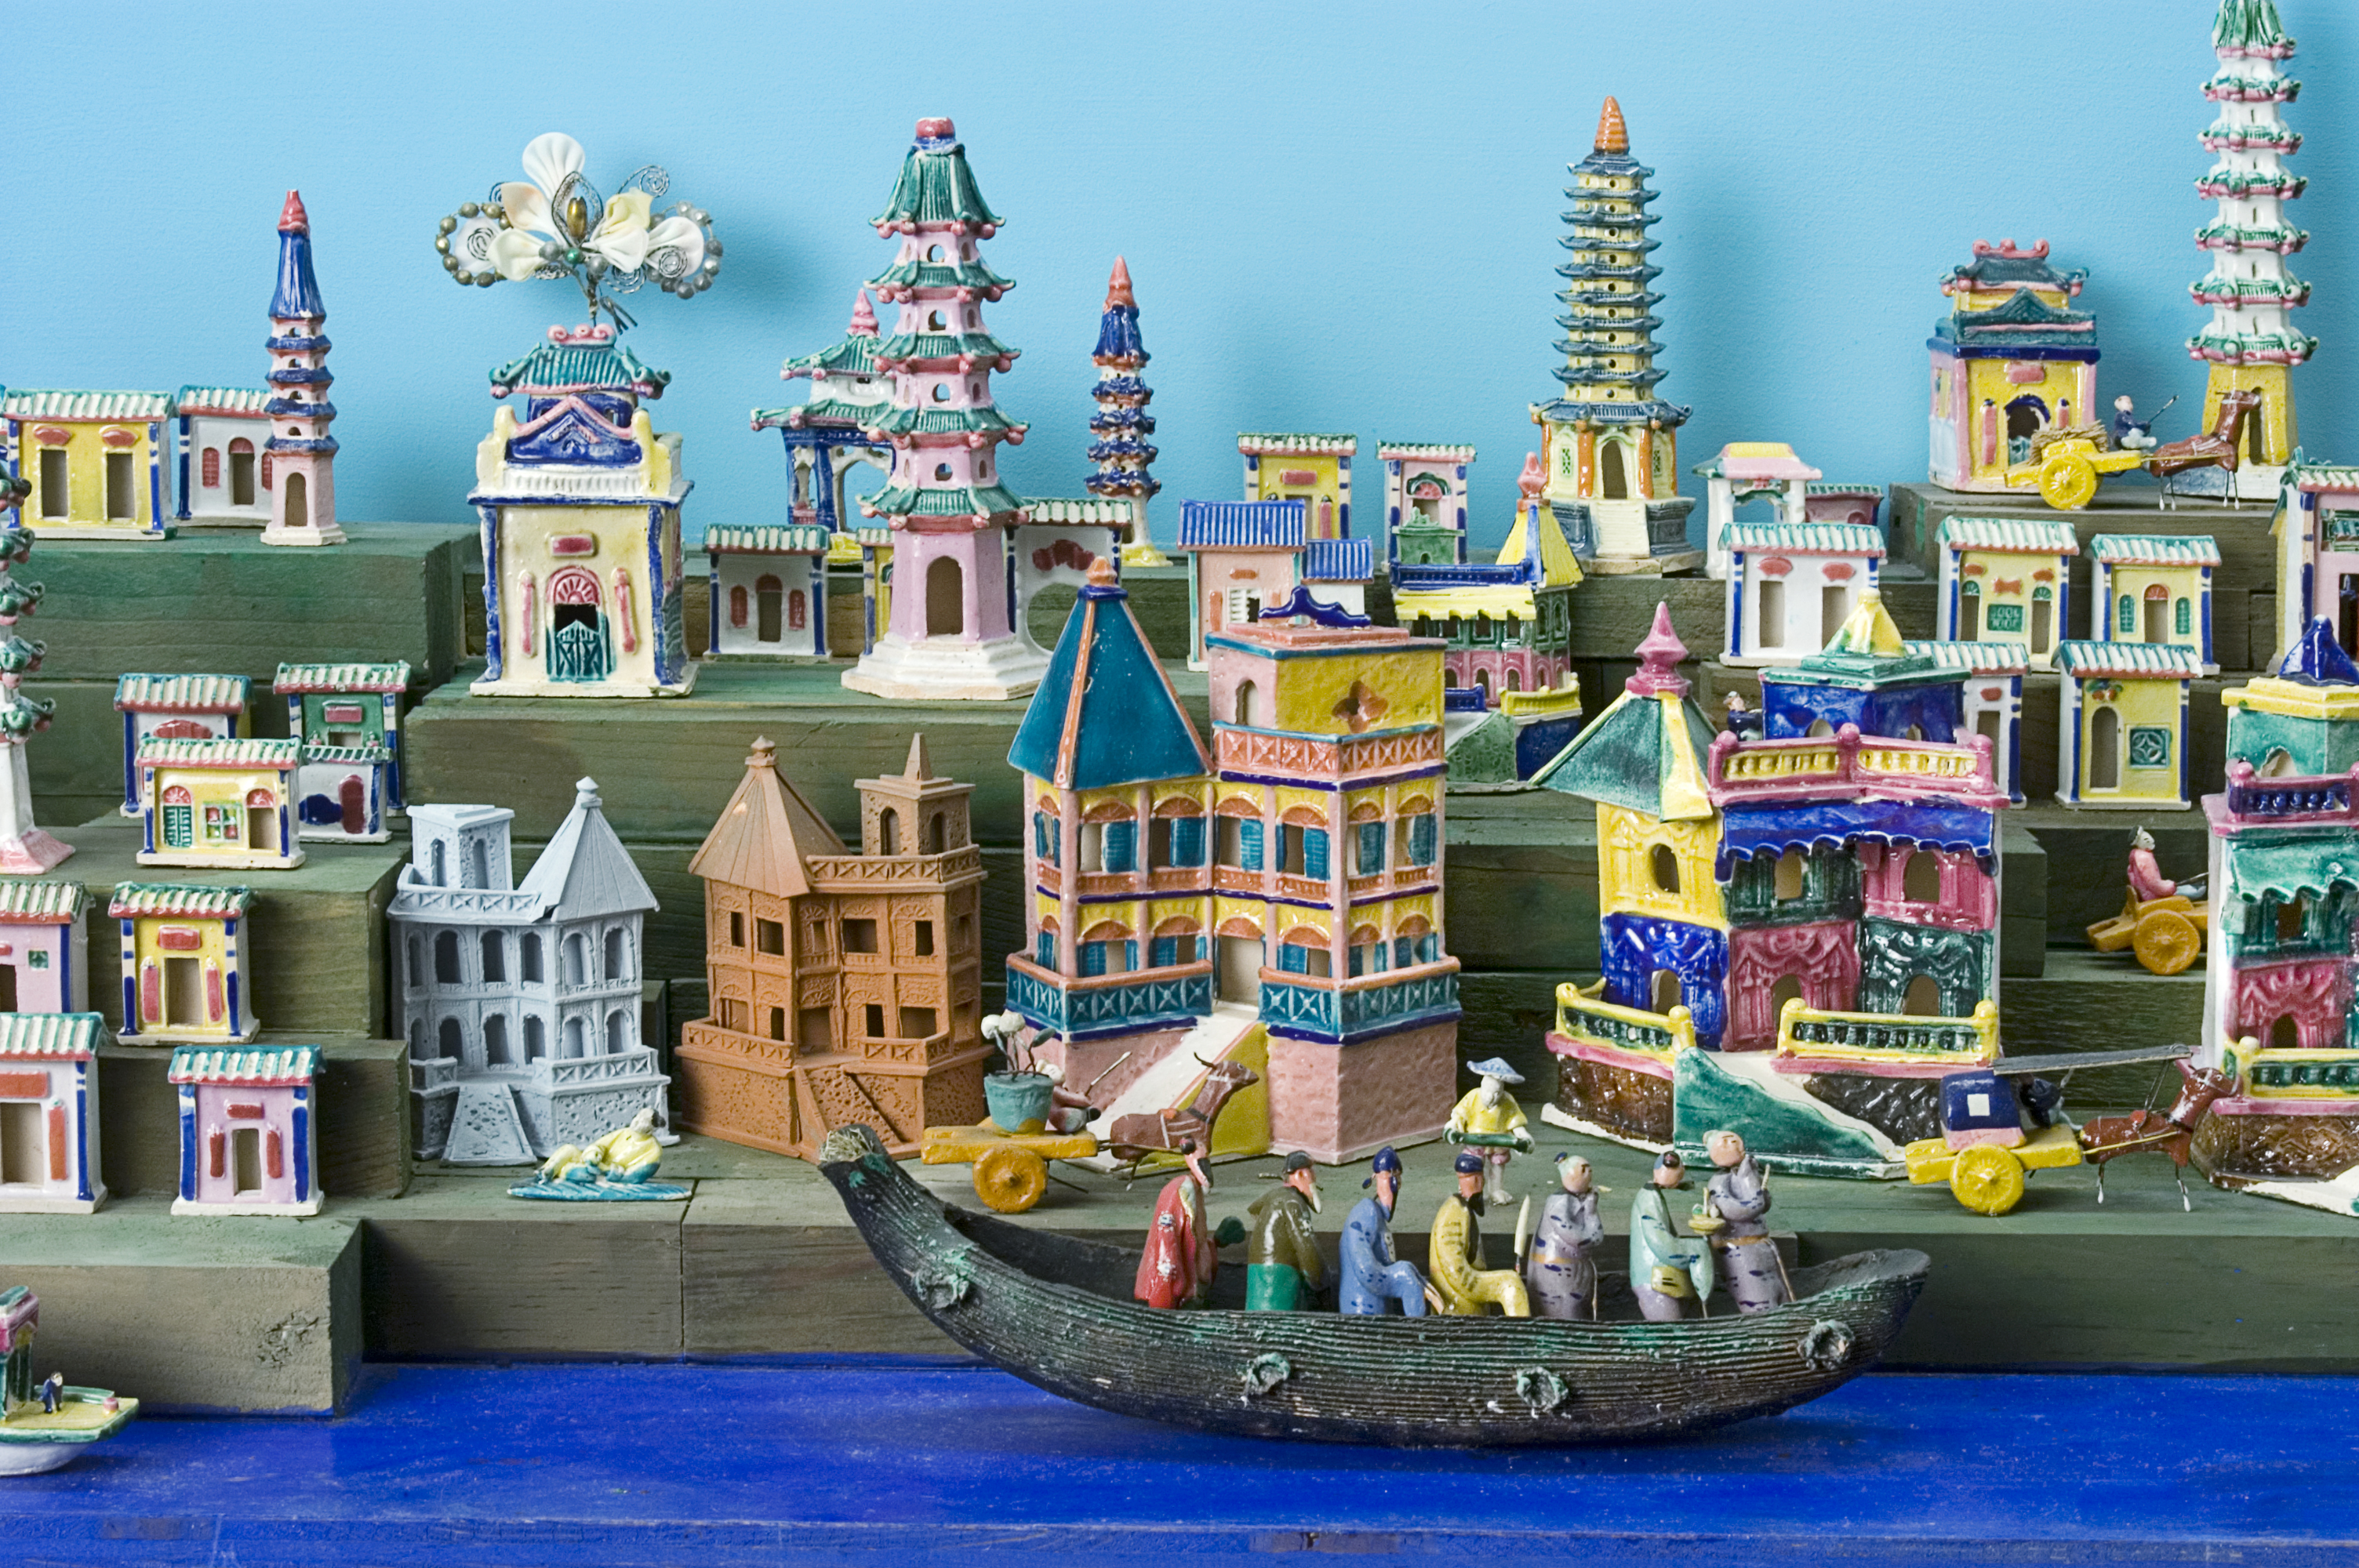
We are all part of a community: a family, a neighborhood, a town, a state, a country, and the world. People with different roles make-up our communities, from our family, friends, and neighbors to classmates, teachers, and so on. Places in a community are also important such as our family home, parks, the post office, grocery stores, libraries, schools and even museums. Our communities give us a sense of belonging and connection to one another. Think about your community, what places and things would you like to have as part of your mini community?
You'll need:
- small cardboard boxes
- decorative paper or brown paper bags, newspaper
- construction paper
- magazines
- glue stick or liquid glue
- scissors
- markers
-
Optional: a big piece of cardboard to layout your community
Procedures 
- Look through your recycle bin for small boxes to make small buildings.
- Use decorative papers and brown paper bags or newspapers to cover each box.
- Cut the paper to the size of the box and glue the paper onto the box.
- Add windows and doorways with construction paper and draw details with markers. With the help of an adult, you can cut out doors and windows on the box.
- Add roofs and beams. These can be pitched or flat. Use construction paper cut to size and then glue onto the top of the box. The beams can be made with twigs that you can find outside.
- If you have magazines cut out different images like plants, to decorate your community.
- Optional: find a large box to cut a big piece of cardboard and glue your buildings to the board to layout your community. You can also create people to live in your community.